Here are the instructions for the Mickey Body Parts Book using Cricut E
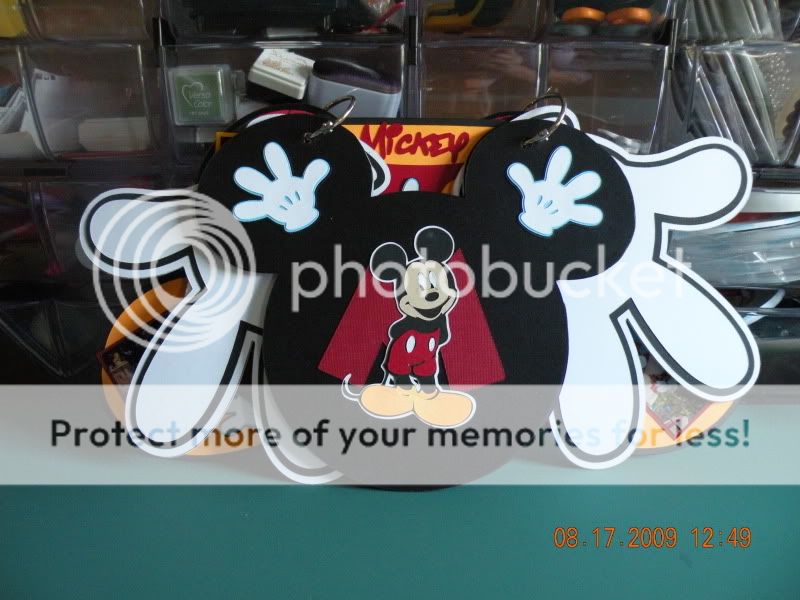
HEAD
#1) Cut 2 medium chipboards at 7 1/2"shadow and shift keys and #1on keyboard.
#2) Cut 4 pieces of red or black (I used black) cardstock at the same setting and 7 1/2 just use the repeat last button
HANDS
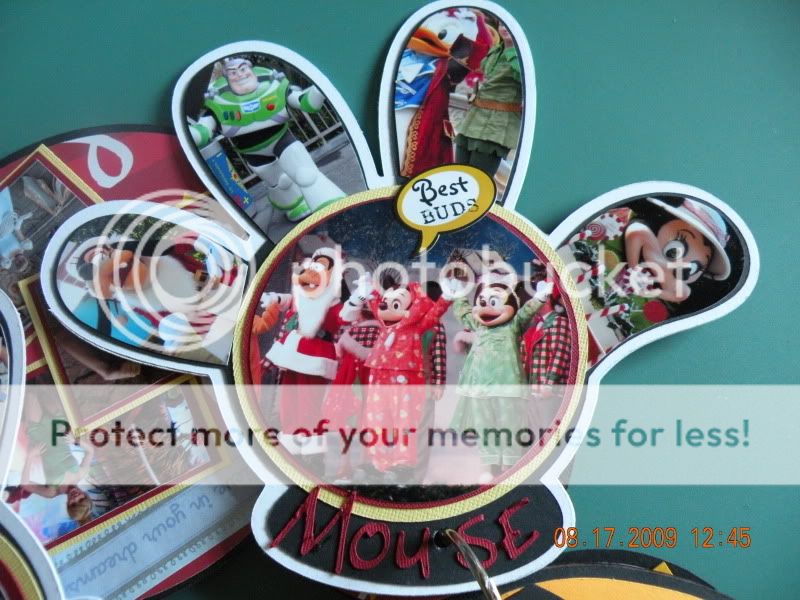
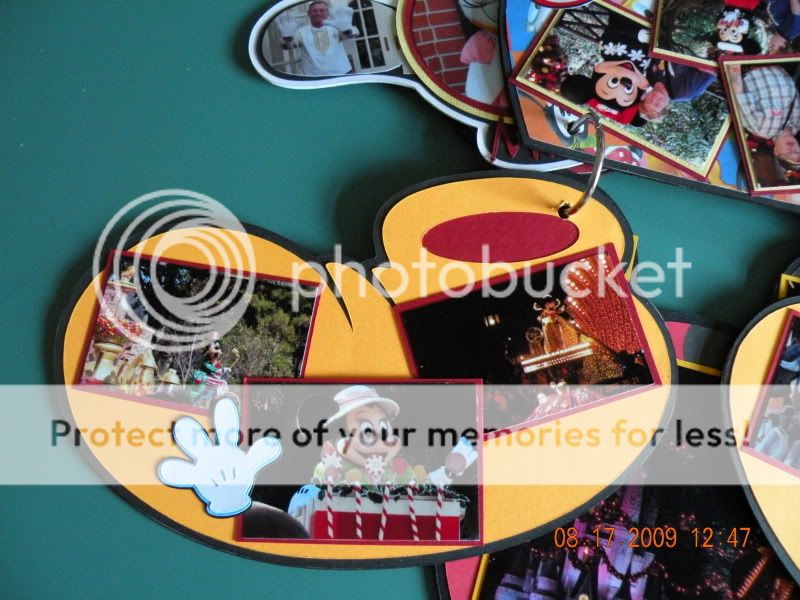
#1) Cut 2 chipboards at 7 1/2", shadow, and shift button and #5 on keyboard, then cut
#2) Cut 4 white cardstock at 7 1/2", press shadow and shift button and repeat last button. This is for each side of the chipboard hands.
#3) Using black cardstock press icon button and #5 on keyboard, then cut 4 hands.
#4) Then press shift and still the icon button, cut 2 with white cardstock.
Pants
#1) Cut 1 chipboard at 7 1/2" with shadow and shift key and #2 on keyboard.
#2) With same settings press repeat last key with black cardstock.
#3) Then press icon button and #2 keyboard, use an orangey yellow cardstock for pants.
#4) Then use icon and shift button and the repeat last button with a red cardstock, REMEMBER to keep the 2 little red oblong pieces that come out of the pants you will need them later.
FEET
#1) Cut 2 chipboards at 5" not 7 1/2 ( 7 1/2 is really too, too big for the rest of the body)
#2) Cut 4 pieces of black cardstock, press shadow button and shift button and #3 on keyboard, then press cut
#3) Then cut 2 pieces of the orangey yellow ( the color you used on the pants), using the icon button and the shift button and and #3 on keyboard.
#4) Now those little red pieces from the pants can be glued to the backside of the yellow cardstock for the feet ( no sence in doing an extra step and using extra paper to make a real big piece of red to go under the yellow.
Notes:
On your cartridge booklet if you number your pages to match your keys on your keyboard you will know why I used all the number signs.
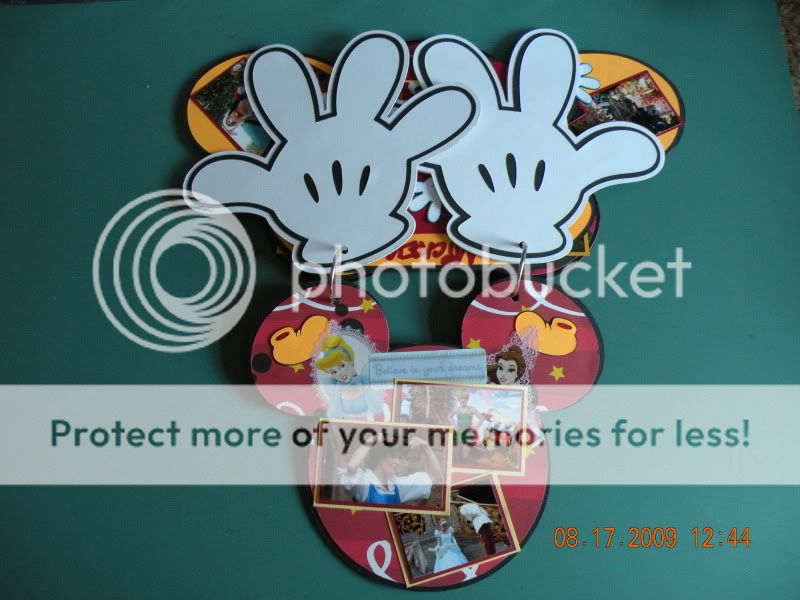
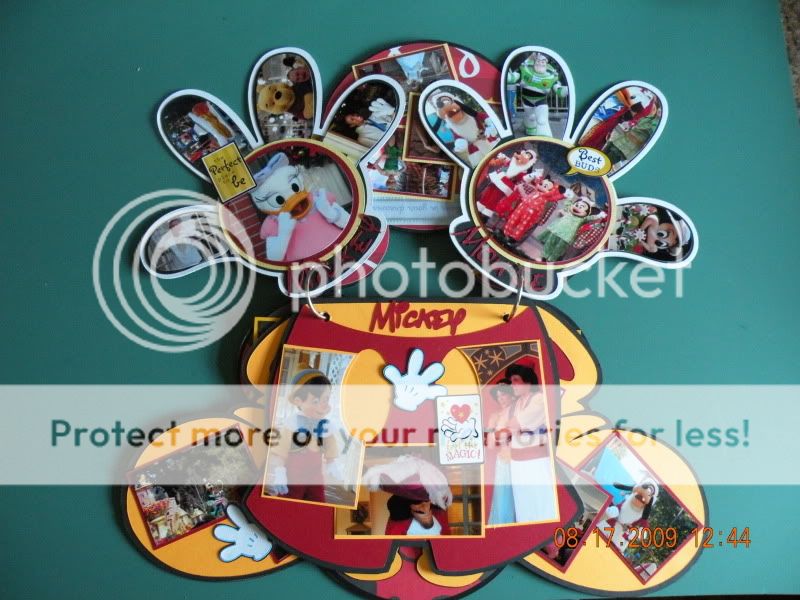
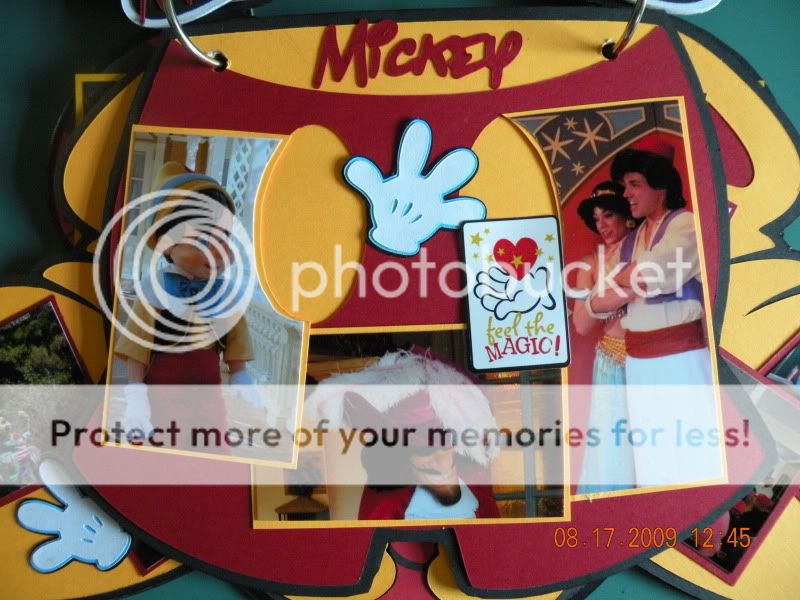
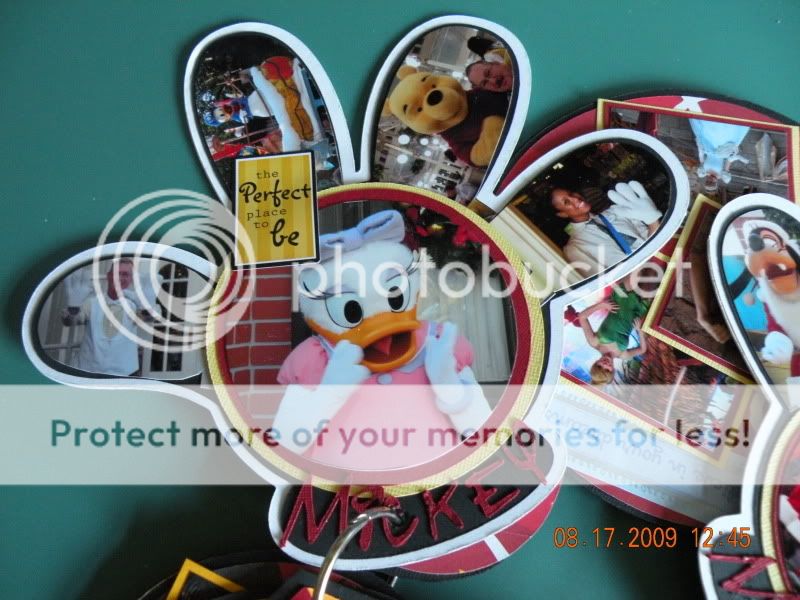
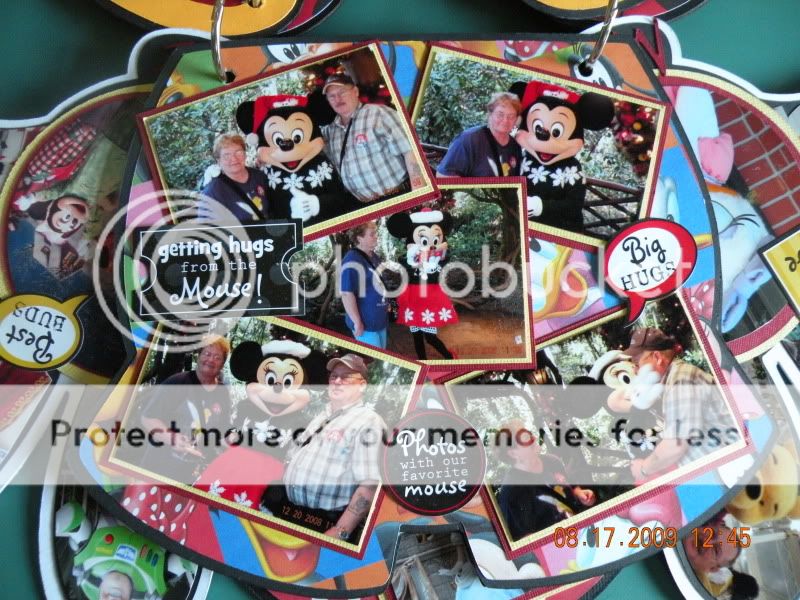
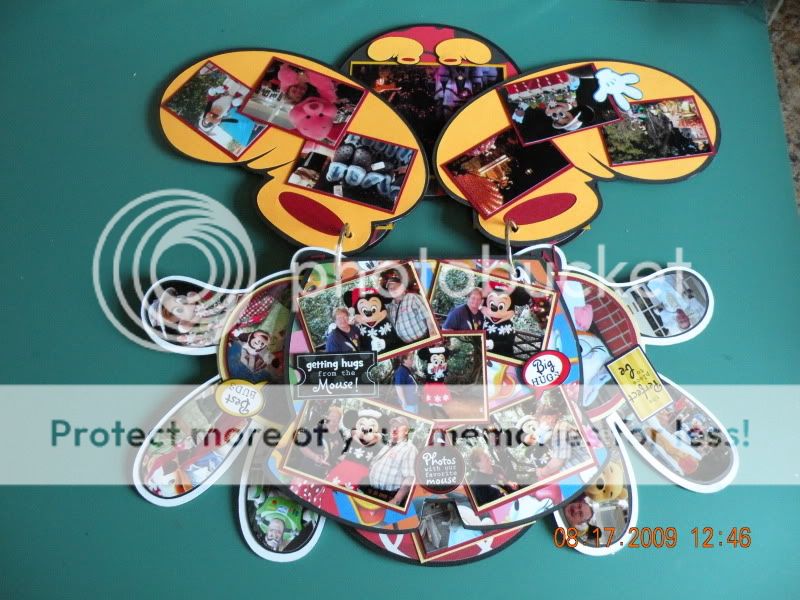
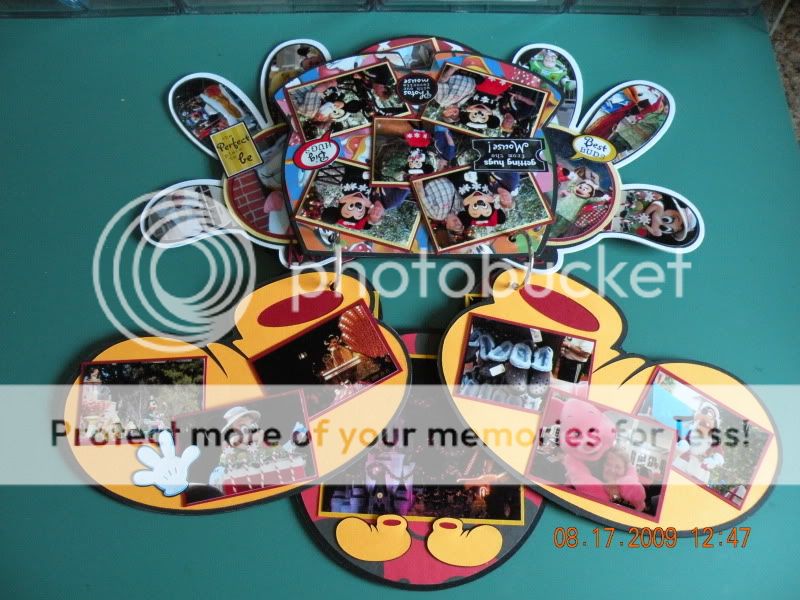
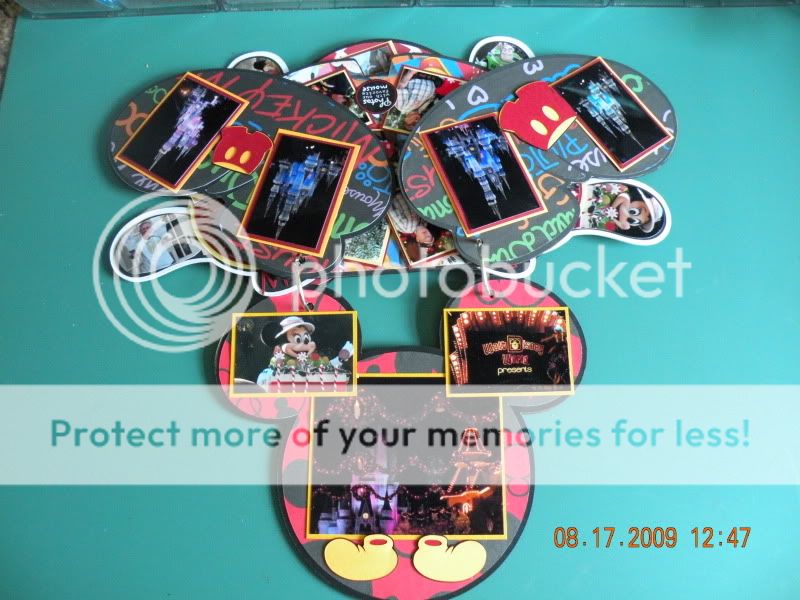
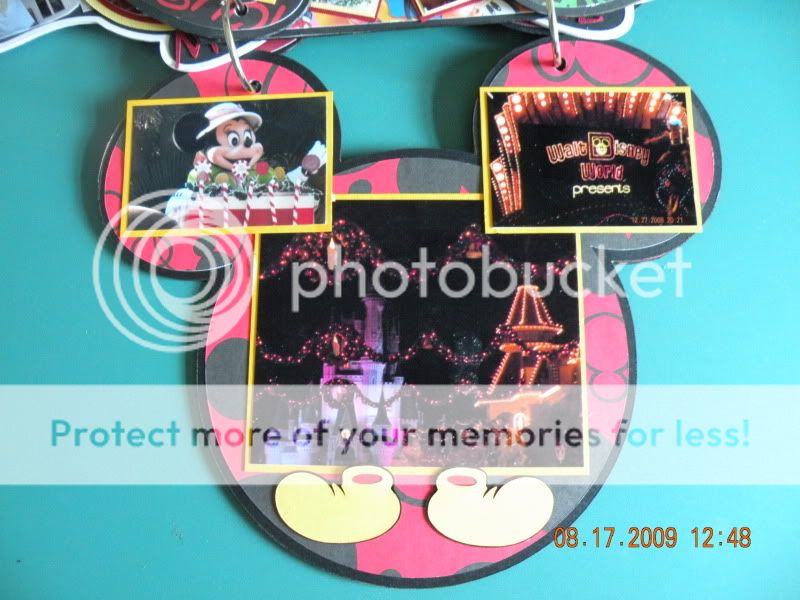
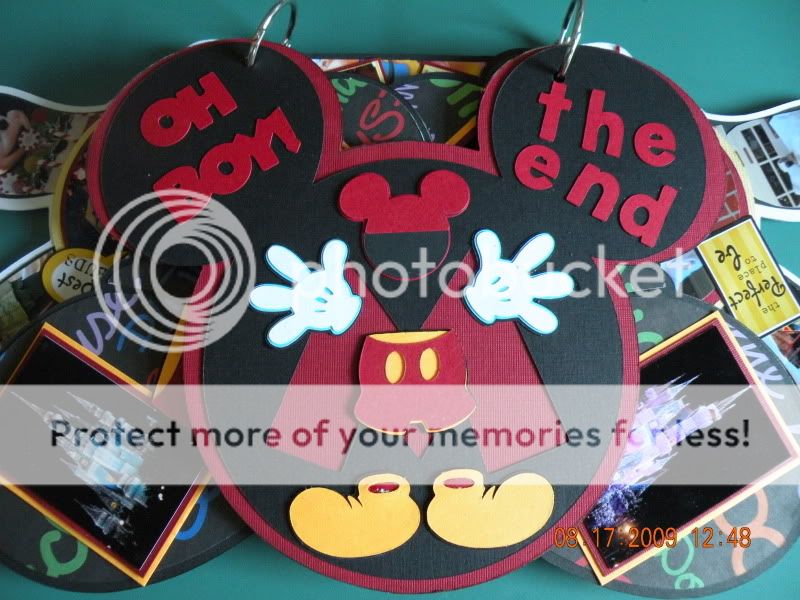
On the back to finish it off you can put another Mickey head ( which I did after I saw the pictures on 2peas, it just needed something else to finish it.
Then line up your pages the way I did (or the way you like) and I punched the holes with my Crop-a-dile which was very easy and then slip in the binder rings.
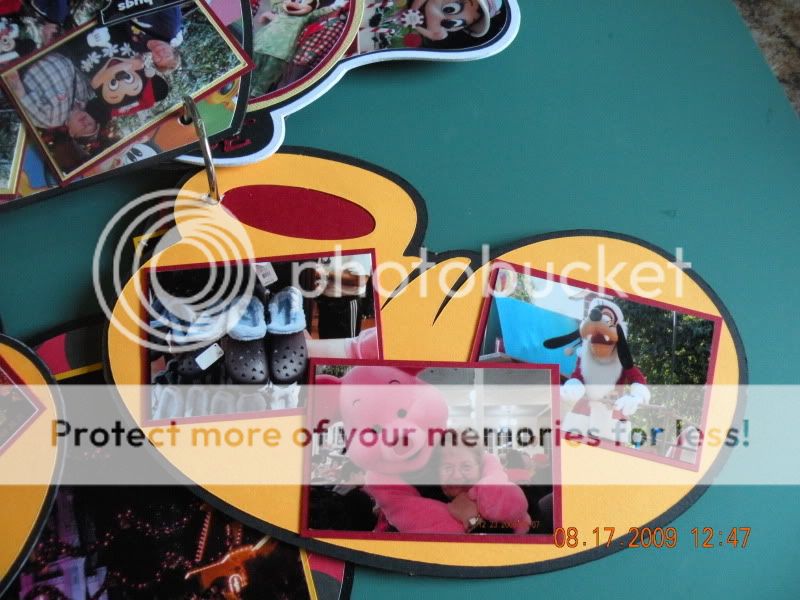
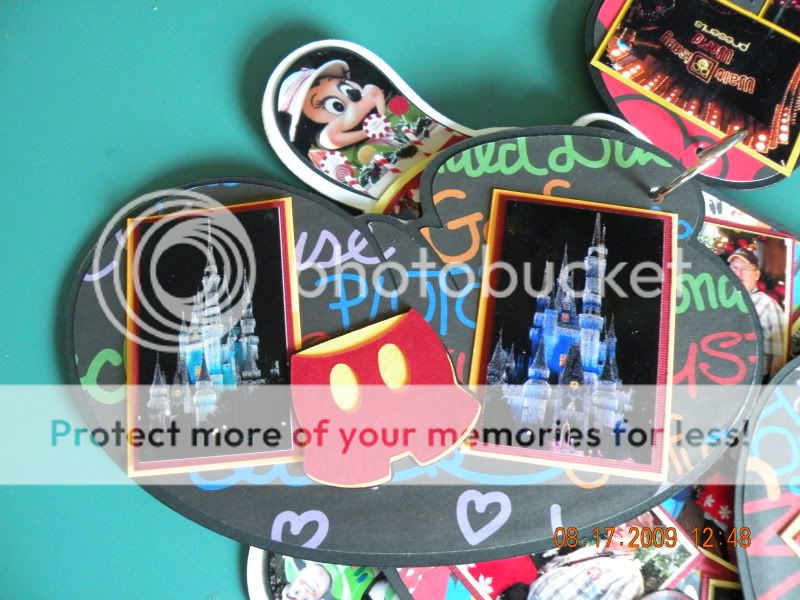
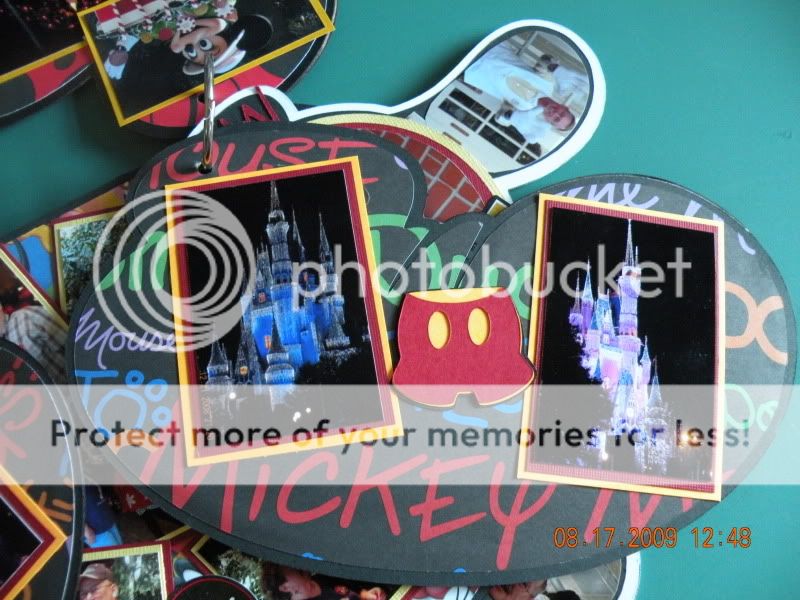
I'll still post some pictures of my finished Body Parts Book. But you could use it as an Autograph book with getting the Characters to sign the front of the pages like on the fingers of the hand and then put the pictures on the back of the hand.
Just pull the book apart and get the Characters to sign it.
I'm just going to use pictures because I already made an Autograph book


")