I've received a lot of nice compliments from everyone about my
DCL pics lately so I thought I'd post a little Photoshop tutorial that you can use to help spruce up an otherwise dull photo in just a few easy and painless steps.
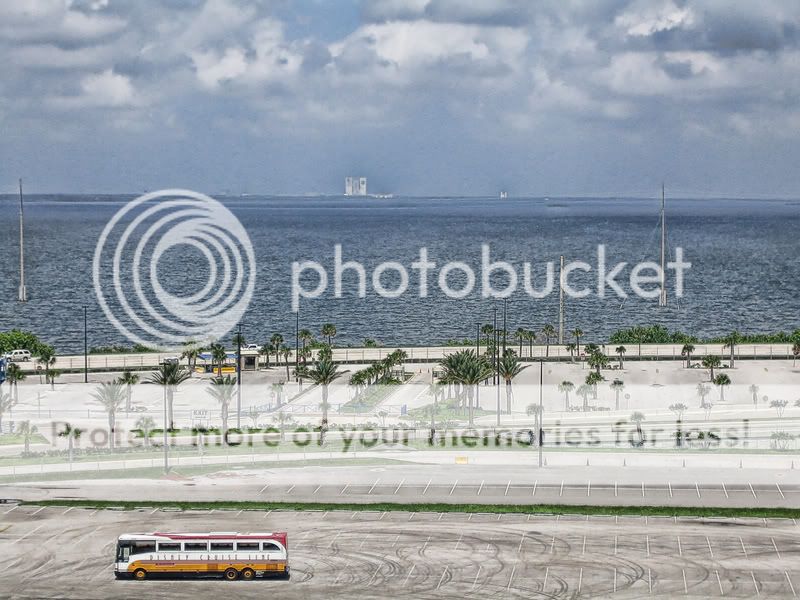
OK. Here's a photo taken on CC with my DW's point and shoot (Canon SD300 for all you curious types).
")
As you can see nothing special, the shadows really dull the shot. But I see it's got some potential. I like the flowers and the sky but if we can just brighten it up the green a little bit I think we'd have a winner.
So let's open the image in PS. I always
duplicate the background as another layer by right clicking "background" in the layers palette. I do this in case I don't like how something looks then I can just delete the layer instead of starting over from scratch.
Personally I use Photoshop CS2 but PS Elements works just the same. I know a lot of you guys have PS Elements so I'll walk you through that version.
Note: my last version is Elements 3, 6 is the current edition so I'm not sure if the commands have changed so bear with me.
Anyway...let's start by
lightening the shadows a bit. Go to:
Enhance
Adjust Lighting
Shadows/Highlights
Adjust the slider bars to your liking, then hit
OK. This step alone usually makes a HUGE difference already in the picture. But don't stop there.
I always like to do some
color enhancing as well. Go to:
Enhance
Adjust Color
Adjust Hue/Saturation
Adjust the
Saturation slider to your liking again. I usually stick to around 20% or so. But that's just me. Go bananas if you want, it's your picture.
")
Hit
OK.
That should get us to here:
Cool. That looks a whole lot better already but we're not done yet. I also like do do a little
sharpening too. Go to:
Filter
Other
High Pass
Adjust the slider bar to around 2.0. The higher the pixel number the more greater the sharpening but then it starts to look over sharpened. So let's try to keep it around 2.0.
Hit
OK
Now the image will appear gray. So you need to go the the
pull down menu in the layers palette and set it to
overlay. That will get your picture back and it should look nice and sharp.
Note: This is not a fix for out of focus pictures people! If you can't remember to push the shutter button down half-way (auto focus) before you take the picture, well shame on you!

Crop out the uninteresting parts, save the file as a JPEG and you're good to go!
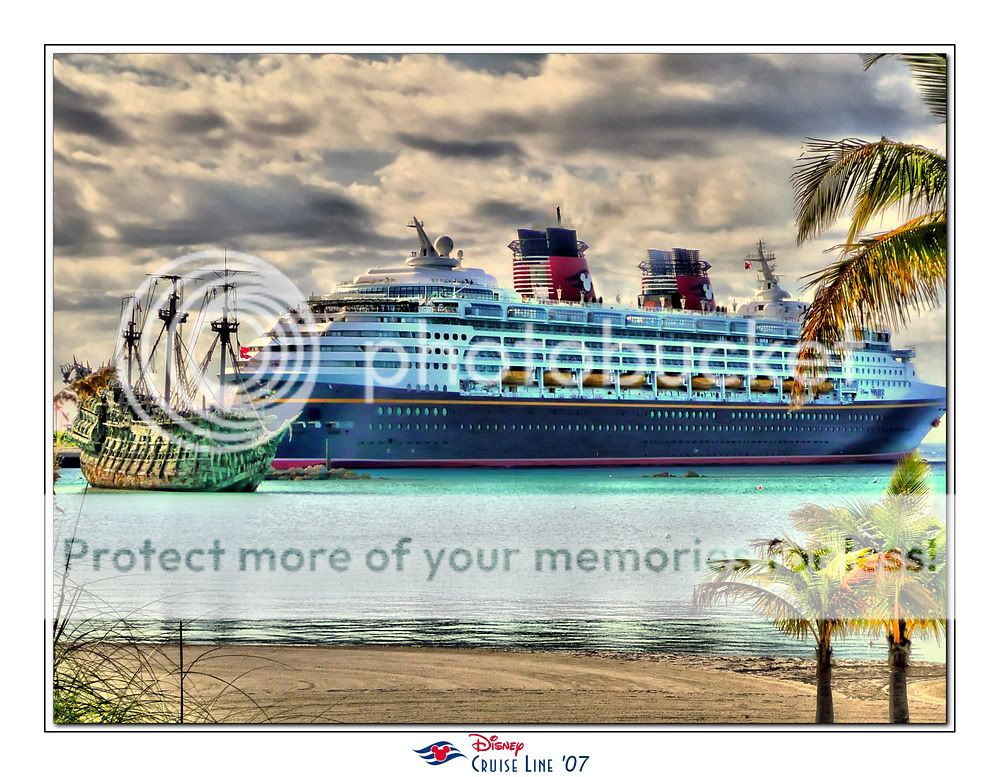
 LucisArt
 is a nice little plug-in that I like to use also. Here's my final version with the LucisArt filter applied.
Alrighty then! That's it. I hope this helped.
Any questions you guys can PM and I'll try to walk you through. K?
Have fun.


 Joking...I know we can't do that on these boards! But I do wish I could do some of my pictures like that
  for posting all of your pictures for our enjoyment!