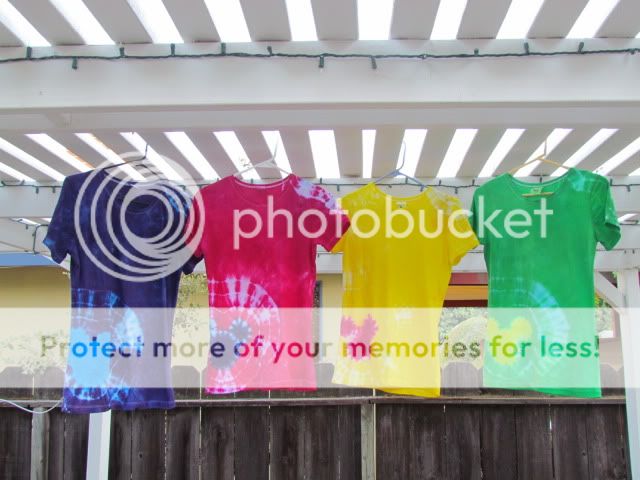
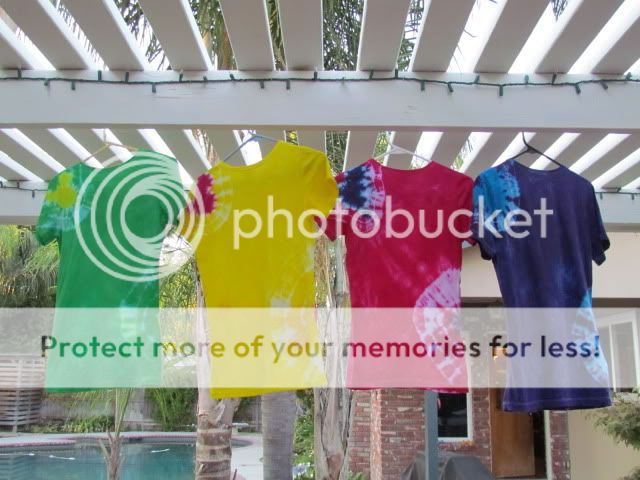
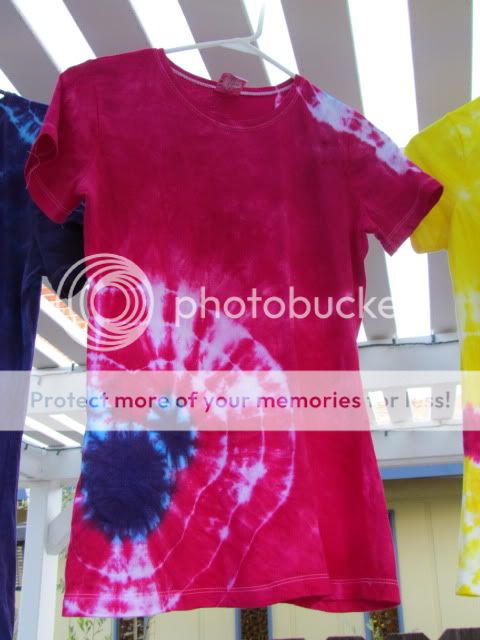
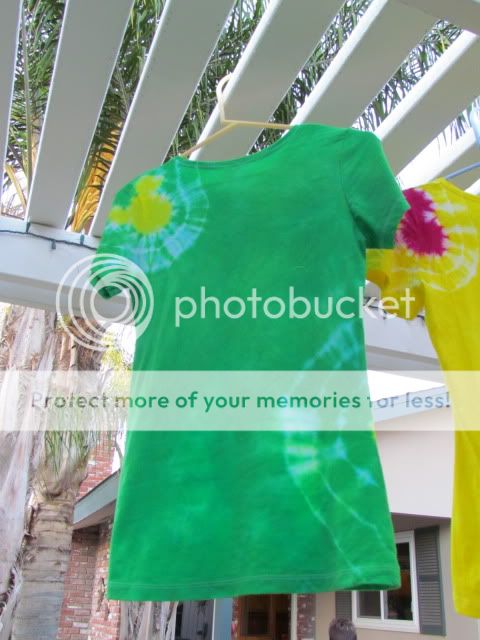
**Tie Dye Mickey ears shirts directions**NEW NEW PICS LAST PAGE**


I finally got around to making some this weekend. They came out even better than I was expecting, though I might try to tweak the blue and green ones a bit. They came out more pastel than I was wanting.
 
IMAG0713.jpg
my brother made this one while I was doing a whole bunch of Mickey Head tees . Can anyone tell what it is? I think it came out awesome but he's worried if you don't know what it is supposed to be you can't see it. Opinions please!! Keep in mind he will be wearing in Disney
 
10272762_10152050821157047_6494266233916545564_o.jpg

Our shirts in 2014. I'm in the process of making new ones for this year since my little guy has outgrown his shirt from last year!


View attachment 81349
my brother made this one while I was doing a whole bunch of Mickey Head tees . Can anyone tell what it is? I think it came out awesome but he's worried if you don't know what it is supposed to be you can't see it. Opinions please!! Keep in mind he will be wearing in Disney

My guess is it is Star Wars Rebel insignia :)
 
OK easy Q.
What do i do with the ends of the Dental Floss/thread after the shirt is stitched, and pulled together.. Do i tie them together, or leave them hang? I would have thought leaving them hang would make the head/ears too loose?
 
I have read MUCH of this thread with great enthusiasm. I have little to no experience with Tye Dying, but I take to crafting pretty well, so I'm all in lol.

My concept is to combine the Mickey head tye dye with some computer graphics work / iron on to make unique shirts for my DW, DS11 and I. I have my white shirts, made a Mickey head template in Photoshop, and printed it out in paper. I traced that onto the shirts to make my shape, and basted them, then pulled the strings tight, wrapped the strings around, and then used a rubber band to separate my Mickey head.

I over looked washing the shirts to get the sizing off the fabric, so that will be done with the Mickey head already separated.

Once the shirts are washed, I will cover the Mickey head portion with plastic, and seal it up good with a rubber band to keep that area white. The rest of the shirt will be twisted and banded, and get dyed. My hope is that when I am done, I will have a tye dyed shirt with a white Mickey head in the middle of it.

On the computer, starting with my template, I am going to fill in with lime green (the dis color) a picture of my DW, DS and I, the lettering DIS, and my dish screen name. The finished graphic will be printed out on transfer paper. Once the dye is done, I will rinse the shirts, and dry them, then iron the graphic onto the shirt, over the white Mickey head area in the middle of the shirt.

I have no idea how it will actually turn out, but in my brain, it looks awesome lol.


Well, I dyed the shirts today. Going to be removing them from their plastic bags, and rinsing them soon . .. . . I'm actually kind of a bit scared lol.
 
How did they turn out?

I need to take some pics, but honestly, I am disappointed with my results.

That being said, it was the first time I have tie dyed anything since I was like 8 or 9, and a complicated process to boot. Our mistakes:

1) Didn't use enough dye. The backs of the shirts came out good to great. the fronts didn't get nearly enough color. A learning process.

2) We didn't rinse the dye for long enough, so during the subsequent washing stage, there was bleeding and the fabric took on a dingy color in places where it should be white.

The shirts are still cool, and will be worn. I have more shirts, and more dye, and will adjust my methods, and give it another go, and see if my results are more in line with what I have pictured in my head :)
Good Luck! Let us see how they turn out.

It is really amazing how much due it actually takes. When you think you may have put too much in, add some more, and then rinse, rinse, rinse. I start rinsing while they are still banded and then slowly remove the bands while rinsing. It can seem like it takes forever. You can also throw a Shout "Color Catcher" sheet in to help pick up any loose dye.
 
I'll get some pics of the first set later today. Looks like Saturday may be when we make our next attempt.
 
Took me a bit longer to get around to the pictures than I planned, but here we go . . . . Out of 6 shirts, I managed to get 2 pictures to work. For what ever reason, my phone and computer are not playing nicely together today.

shirt1.jpg shirt2.jpg
 
Last edited:
So after lurking around this thread for months and getting ideas, I decided to actually tie dye shirts for our upcoming Girls Trip to Disneyland. I've tie dyed plenty of times before and I have all the chemicals and dyes and I have the technique down pat (I prefer to use string instead of rubber bands), but I was terrified to try this. I've never tie dyed anything where you stitch and bast before, but I thought what the heck? Tie Dye isn't supposed to be perfect right?

Well, I think I did pretty well!

The fronts:
IMG_0888.jpg


The backs:
IMG_0889.jpg


Up close front:
IMG_0896.jpg


Up close back:
IMG_0890.jpg


Up close Mickey head:
IMG_0898.jpg


Thanks to everyone who has posted pictures and given directions and suggestions!
 
Well, I didn't do the puff paint idea. I was REALLY worried the heads wouldn't work out but with the very tight stitching and uber tight banding it turned out well.
The only one that isn't great is mine (the top right shirt)... The one where the Mickey head didn't quite fill in with red dye.
Ideas on how to fix it (sharpie marker?!)?
mickey-tyedye.jpg
 
Last edited:
When I did it, I sewed around the whole head (is that basting?). Then I put rubber bands around that, making sure to keep the mickey head shape correct.
 

GET A DISNEY VACATION QUOTE

Dreams Unlimited Travel is committed to providing you with the very best vacation planning experience possible. Our Vacation Planners are experts and will share their honest advice to help you have a magical vacation.

Let us help you with your next Disney Vacation!


facebook twitter
Top